The Sunday Mail
BUTTERFLIES are beautiful creatures that have fascinated children and adults for generations. Their vibrant colours and symmetry inspire painters, sculptors and anyone hoping to commune with mother nature’s inner artiste.
Bringing the butterfly’s design to home decor is a smooth transition. By using the butterfly’s form as wall art, you can bring nature to any room in your home, and depending on how you display it, the art can transition from a child’s room to a show stopping piece over the fireplace.
Butterfly specimen art
Butterfly specimen collections are quite common, but by using paper instead of real butterflies, you save a life or two. You still need a shadow box or a deep frame to display your paper butterflies, but instead of pins, use mounting tape. Cut butterflies out of thick scrapbook paper using a template or a butterfly punch. Place a small piece of mounting tape on the back of the butterfly and adhere it in place. The mounting tape makes the butterfly pop out from the paper.
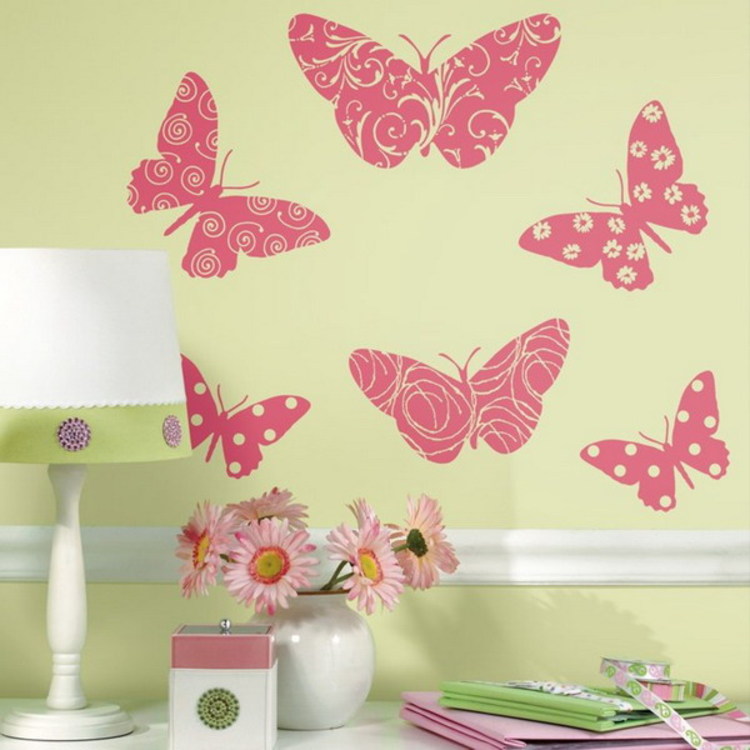
Vinyl butterfly art
Vinyl wall decals add dimension to a room and easily are removed from walls, which is ideal for renters. The idea behind vinyl butterfly art is pretty straightforward, but depending on your style, it could go in several different directions. If you are decorating a child’s room, a large butterfly or a grouping of smaller butterflies in bright colours is fun. When decorating a teenager’s room, try arranging small, vinyl butterflies in a circular pattern over the headboard. If you are decorating for an older audience, elevate the vinyl butterflies with a dramatic piece on your mantel. For best results, use an electronic paper cutter to create symmetrical cutouts, or use a butterfly template.
3-D paper butterflies
Add dimension to any wall with 3-D paper butterfly art. Pick a butterfly shape you like and decide whether you want all of the butterflies to be the same size or varying shapes and sizes. Choose an array of colourful scrapbook paper for an eclectic look, or stick to one colour for consistency. Fold the paper in half and trace one-half of the butterfly template. Cut out the shape and open up the paper to reveal the 3-D butterfly. Repeat this process until you have the desired number of butterflies. To hang the finished butterflies, use double-sided tape or mounting squares.
Black-and-white framed butterflies
For a dramatic wall art installation, group four black-and-white framed butterflies in identical square frames on a prominent wall. To make the art, search online for four different butterflies whose shapes and symmetry you admire. Convert the images to black and white using a photo-editing programme, and send the images to a local printer. The size of the butterflies depends on the frames you choose: the bigger, the better. Once framed, hang the butterflies using a level and ruler to ensure the pictures are straight and equally spaced.— living.thebump.com.